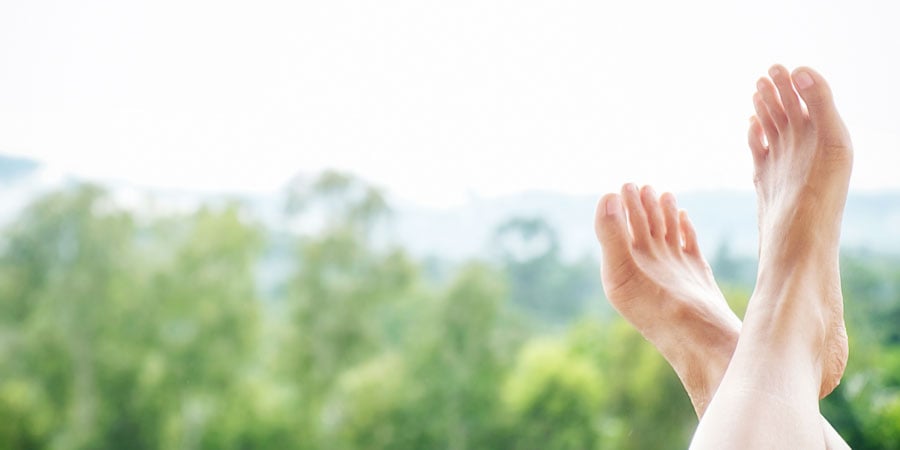
How to Avoid Blisters on the Camino
You’ve put in the time. You’ve planned your route, bought your gear, and trained your body. Don’t let something as avoidable as blisters bring it all crashing down. Blisters are one of the fastest ways to derail your Camino—turning excitement into frustration, and every step into a painful chore. But here’s the truth: most blisters aren’t bad luck. They’re preventable. learn below how to Avoid Blisters on the Camino
Table of contents
Blisters come from a mix of friction, moisture, heat, and pressure—things you can control with the right prep and know-how. Avoiding them isn’t just about good shoes; it’s about understanding how your feet react under stress, choosing the right socks, conditioning your skin, and spotting hot spots before they turn into problems. It’s also about making smart decisions every day on the trail—from how often you stop, to how you care for your feet at night.
This isn’t just foot care. It’s damage control. It’s injury prevention. And it’s the difference between limping through your Camino or actually enjoying it. This guide will break it all down—clear, direct, and to the point—so you can walk strong, stay ahead of the pain, and focus on what you came for.
What are Blisters?
Blisters are pockets of fluid that form under the top layer of your skin, usually as a reaction to repeated rubbing or pressure. They’re your body’s way of protecting damaged skin—like a built-in cushion. The fluid inside (usually clear) helps the area heal, but it also makes walking painful and leaves you vulnerable to infection if it bursts.
On the Camino, they’re almost always caused by friction—from your shoes, socks, or even the way you walk. They might seem small, but they can stop your progress fast. The key is to treat them seriously from the start and, better yet, learn how to prevent them in the first place.

Causes of Blisters
Blisters don’t just show up out of nowhere—they’re your skin’s response to repeated stress. The main culprits are friction, heat, and moisture. When your foot rubs against your sock or shoe, the top layers of skin separate, fluid fills the gap, and boom: blister. Add sweat, swelling, and long hours of walking, and you’ve got a perfect storm.
Poorly fitting shoes, the wrong socks, wet feet, or even just walking too far too soon—these are all things that set you up for trouble. Most of it comes down to one thing: pressure and rubbing that your feet weren’t ready for. Understanding what causes blisters is the first step to stopping them. If you know what triggers them, you can cut them off before they start.
1. Heat: this is generated from your foot rubbing against your sock which Is been pressed by your boot.
2. Moisture: Sweat produced by the feet will soften the skin resulting in less protection and more friction.
3. Grit/sand/ gravel: this will increase friction along particular areas of the foot which will generate more friction and heat.
Treatment for blisters
Got a blister? Deal with it immediately. Ignoring it will only make it worse, and on the Camino, “worse” means pain, infection, and possibly cutting your walk short. Whether it’s just forming or already popped, you need to manage it properly to stay on your feet.
If the blister is small and unbroken, protect it with padding or blister tape to stop further rubbing. If it’s large or painful, draining it (with clean hands and a sterile needle) may be the best move—just don’t remove the skin. That layer protects the raw skin underneath. After draining, disinfect it, cover it with a sterile dressing, and keep an eye on it. Change the dressing daily and keep the area dry.
Blister treatment isn’t complicated—but it does require you to act fast, stay clean, and be consistent. Don’t tough it out. Fix it, protect it, and keep walking.
- If the blister has not torn and is full of liquid, pierce it from the side with a sterile needle at its base and allow all the fluid to run out.
- If the blister has torn already, carefully cut away the loose skin of the blister and treat the area with antiseptic.
- Allow the blister to dry and harden in the open air for as long as you can.
- When you need to resume hiking, put a plaster over the torn blister.
- Put a layer of moleskin over the blister area. You may cut a doughnut shaped piece of moleskin that fits around the blister rather than putting it directly on the torn site.
- Check the blister at each stop and give it as much time to dry off as you can whenever you can. Keep it clean and sterilized to prevent infection.
How to condition your feet?
If you want to avoid blisters, start before you even set foot on the Camino—by conditioning your feet. This means getting them used to the exact kind of stress they’ll face on the trail: long distances, carrying weight, and walking for hours, day after day. You can’t fake this part. If your feet aren’t ready, they’ll break down. Simple as that.
Start by walking regularly in the shoes and socks you plan to wear. Build up distance slowly—don’t jump from short strolls to full-day hikes. Walk on different terrain, carry your pack, and train in all kinds of weather. Your goal is to toughen your skin, identify problem spots, and give your feet time to adjust.
Use this time to experiment: try different sock combinations, test blister prevention products, and pay attention to where your feet tend to get sore or hot. Conditioning also includes keeping your skin in good shape—moisturize if your skin cracks easily, or let it dry out a bit if it’s too soft and prone to rubbing.
Don’t wait until the Camino to “see how it goes.” Show up with feet that are already trail-tested. That’s how you stay blister-free.
Below are a few tips for you:
1. Use benzoin on the bottoms of your feet to toughen the skin.
2. Walk barefoot at home and outside whenever you can, this will also toughen the skin but be careful where you walk.
3. Break in your new boots: do roughly ten 5-mile hikes before going on a long all day hike especially when preparing for your Camino trip.
– Ensure that they are water tight and breathable to allow the sweat from the feet to escape. You can also find boots that have a scree collar that will keep out dirt/ debris.
– Use thick impact-absorbing insoles.
– Wear socks that DO NOT have seems as this will rub against the feet and irritate them. DO NOT wear cotton socks as they soak up and retain moisture – wear polypropylene socks instead.
4. Keep toe nails trimmed and ensure there are no sharp edges that may cause irritation to the skin and wear out your expensive hiking socks.
Useful Tips to avoid Blisters on the Camino
Blisters are preventable—if you’re smart and proactive. These tips aren’t complicated, but they work. Ignore them, and you’re gambling with your feet.
- Break in your gear – Never start the Camino with brand new shoes or socks. Wear them during training hikes until they feel like part of your body.
- Choose the right socks – Use moisture-wicking, seamless socks. Many walkers swear by the double-layer method (like liner socks + wool socks) to reduce friction.
- Keep your feet dry – Wet feet are blister magnets. Change your socks during the day if they get damp, and let your feet air out during breaks.
- Use blister prevention products – Tape known hot spots before they cause trouble. Products like Compeed, Leukotape, or friction-reducing balms can make a huge difference.
- Trim your toenails – Long nails can bruise your toes and create pressure points. Keep them short and straight.
- Listen to your feet – The moment you feel rubbing, stop. Tape it, adjust your gear, and deal with it on the spot. Don’t wait for a full blister to form.
- Care for your feet daily – At the end of each day, wash and dry your feet, check for damage, and treat anything early. This is part of your recovery—don’t skip it.
- Don’t overdo it – Start slow. Let your body—and your feet—adjust to the daily mileage. Many injuries happen because people push too hard, too fast.
The Camino is a physical challenge, but it doesn’t have to be a painful one. Treat your feet like priority #1, and they’ll carry you all the way to Santiago. Avoid Blisters on the Camino
Download our free 6 month Camino Preparation Plan.
For more information about Camino preparation, Camino routes or to book your Camino de Santiago trip, contact our travel specialists
